Beautiful Decorated Sugar Cookies Recipe
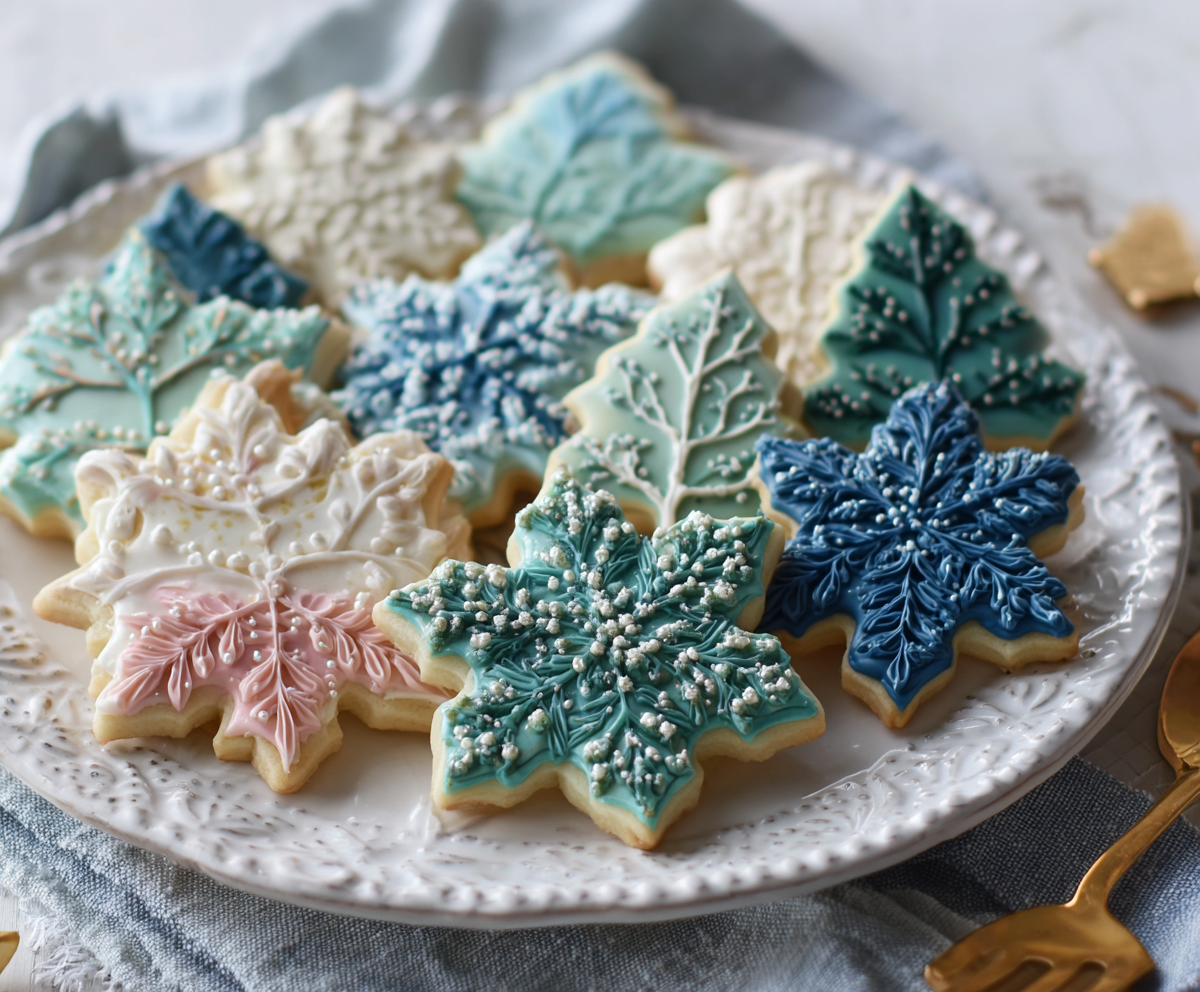
Perfectly decorated sugar cookies are more than a dessert,they’re edible art. With crisp, defined edges and a tender, buttery center, these cookies hold their shape beautifully while delivering exceptional flavor. As a professional chef, I believe decoration should enhance, not overpower, the cookie itself. This recipe balances structure, taste, and visual elegance,ideal for holidays, celebrations, or premium gifting.
Ingredients List
For the Sugar Cookies:
- 3 cups (375g) all-purpose flour
- 1 tsp baking powder
- ½ tsp fine sea salt
- 1 cup (227g) unsalted butter, softened but cool
- 1 cup (200g) granulated sugar
- 1 large egg, room temperature
- 2 tsp pure vanilla extract
- ¼ tsp almond extract (optional, for depth)
For the Royal Icing:
- 4 cups (480g) powdered sugar, sifted
- 3 tbsp meringue powder
- 5–6 tbsp warm water
- ½ tsp vanilla or almond extract
- Gel food coloring (as desired)
Step-by-Step Instructions
Prepare the Dough
In a medium bowl, whisk together flour, baking powder, and salt. Set aside.
Cream Butter and Sugar
In a stand mixer fitted with a paddle attachment, cream butter and sugar on medium speed for 2–3 minutes until smooth and slightly fluffy. Avoid over-aerating to maintain sharp cookie edges.
Add Wet Ingredients
Mix in the egg, vanilla extract, and almond extract. Scrape down the bowl to ensure even incorporation.
Combine and Chill
Gradually add dry ingredients on low speed until just combined. Divide dough into two discs, wrap in plastic, and chill for at least 1 hour.
Roll and Cut
Preheat oven to 350°F (175°C). Roll dough to ¼-inch thickness on a lightly floured surface. Cut into desired shapes and place on parchment-lined baking sheets.
Bake
Bake for 9–11 minutes until edges are set but not browned. Cool completely before decorating.
Prepare Royal Icing
Whisk powdered sugar and meringue powder. Add warm water gradually and beat until glossy peaks form (about 5–7 minutes). Adjust consistency: thicker for outlining, thinner for flooding.
Decorate Like a Professional
Outline cookies first, allow to set slightly, then flood centers. Use a toothpick to smooth icing and remove air bubbles. Let dry at room temperature 6–8 hours or overnight before stacking.
Cook Time
- Prep Time: 25 minutes
- Chill Time: 1 hour
- Bake Time: 9–11 minutes per batch
- Decorating & Drying: 6–8 hours
Servings
Makes approximately 24 medium decorated cookies.
Nutritional Information (approx. per serving)
- Calories: 210 kcal
- Carbohydrates: 30g
- Fat: 9g
- Protein: 2g
- Sugar: 18g
Storage Instructions
Store decorated cookies in an airtight container at room temperature for up to 5 days.
For longer storage, freeze undecorated cookies for up to 2 months. Royal icing-decorated cookies can be frozen once fully dry, layered between parchment paper.
Suggestions
- Use gel food coloring for vibrant hues without thinning the icing.
- For metallic finishes, apply edible luster dust once icing is dry.
- Add lemon zest to the dough for a bright citrus variation.
- Invest in quality piping bags and fine round tips (#2 or #3) for precision work.
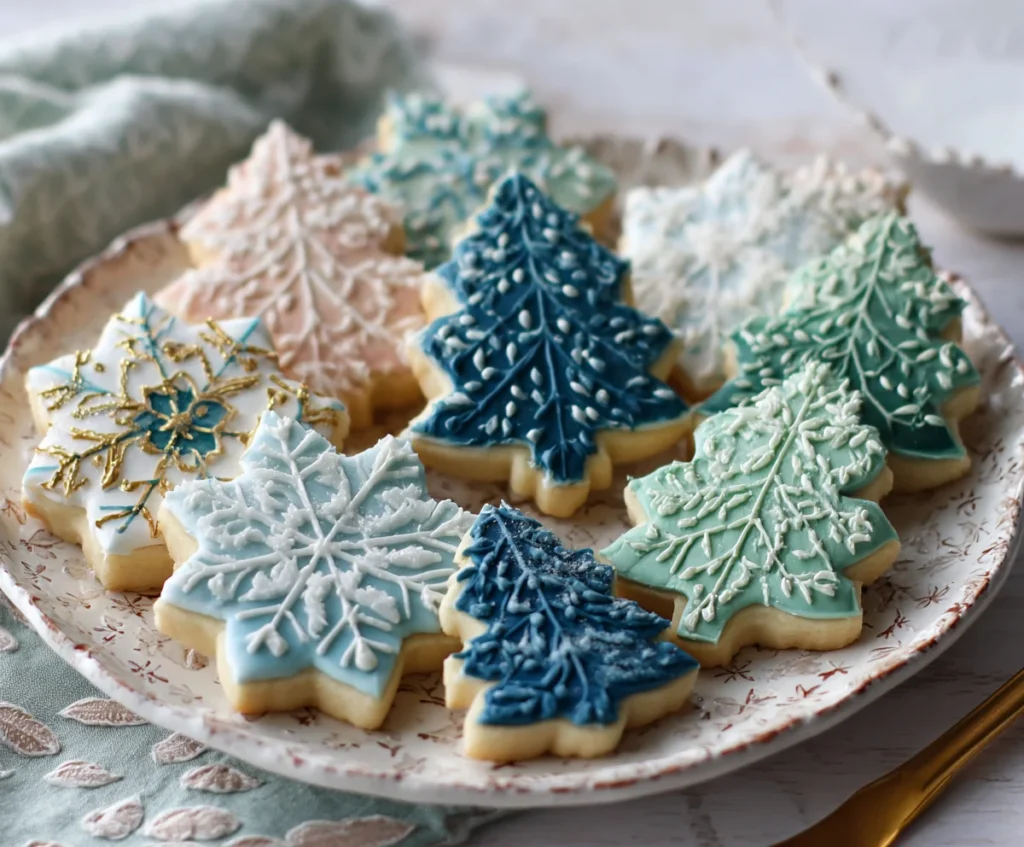
Seasonal Relevance
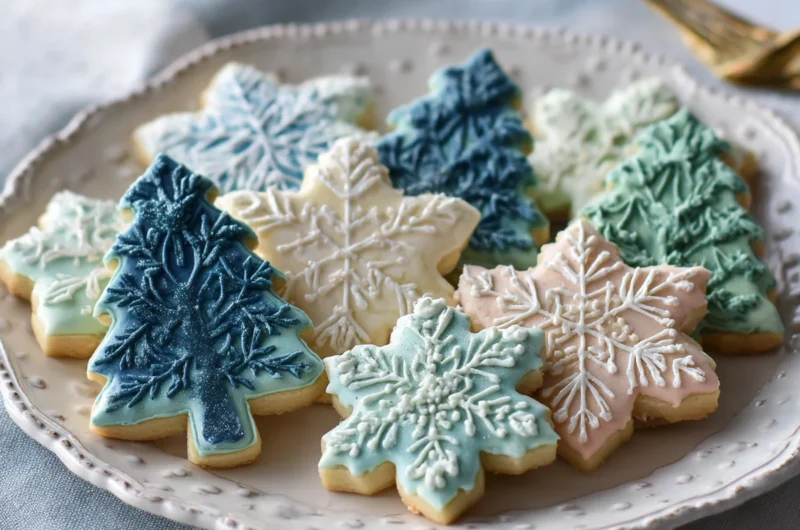
These cookies adapt beautifully to every season. Hearts for Valentine’s Day, florals for spring gatherings, patriotic stars in summer, pumpkins for autumn, and snowflakes during the winter holidays. Their versatility makes them a year-round staple in professional pastry kitchens.
Conclusion
Beautiful decorated sugar cookies are where craftsmanship meets flavor. When executed correctly—with proper chilling, careful mixing, and disciplined decorating,you achieve bakery-level results at home. This recipe is structured for consistency, clarity, and elegance, ensuring each batch looks refined and tastes exceptional.
Beautiful Decorated Sugar Cookies Recipe
24
servings25
minutes11
minutes210
kcal36
minutesThese Beautiful Decorated Sugar Cookies feature crisp edges, a tender buttery center, and smooth royal icing perfect for detailed designs. Ideal for holidays, celebrations, and special occasions, this recipe ensures cookies that taste as impressive as they look.
Ingredients
For the Sugar Cookies:
3 cups (375g) all-purpose flour
1 tsp baking powder
½ tsp fine sea salt
1 cup (227g) unsalted butter, softened
1 cup (200g) granulated sugar
1 large egg
2 tsp pure vanilla extract
¼ tsp almond extract (optional)
For the Royal Icing:
4 cups (480g) powdered sugar, sifted
3 tbsp meringue powder
5–6 tbsp warm water
½ tsp vanilla or almond extract
Gel food coloring (as desired)
Directions
- In a bowl, whisk together flour, baking powder, and salt.
- Cream butter and sugar until smooth and light.
- Add egg and extracts; mix until combined.
- Gradually add dry ingredients and mix until dough forms.
- Divide dough, wrap, and chill for at least 1 hour.
- Preheat oven to 350°F (175°C). Roll dough to ¼-inch thickness and cut into shapes.
- Bake 9–11 minutes until edges are set. Cool completely.
- Prepare royal icing by beating powdered sugar, meringue powder, water, and extract until glossy. Adjust consistency as needed.
- Outline and flood cookies with icing. Allow to dry 6–8 hours before serving or storing.
Recipe Video
Notes
- Chill dough thoroughly to prevent spreading.
- Use gel food coloring to maintain icing consistency.
- Let icing dry completely before stacking cookies.
- Store in an airtight container at room temperature for up to 5 days.
FAQs
1. Why did my cookies spread and lose their shape?
This typically happens if the dough wasn’t chilled long enough or the butter was too soft. Proper chilling solidifies the fat and maintains defined edges during baking.
2. Can I decorate cookies without meringue powder?
Yes, you can use pasteurized egg whites instead, but meringue powder provides greater stability and longer shelf life.
3. How do I achieve perfectly smooth icing without bumps?
After flooding, gently tap the cookie on the counter and use a toothpick to pop air bubbles. Proper icing consistency is key—similar to warm honey for flooding.